Reviving the Blue BIR🅱️& The Bird Key in Link's Awakening Switch - 100% Walkthrough 15
The Legend of Zelda Link's Awakening Walkthrough Gameplay Part 15
The Legend of Zelda: Link's Awakening Walkthrough Part 15
LINK'S AWAKENING SWITCH - 100% Walkthrough Part 15 - The Last Trade [No-Commentary]
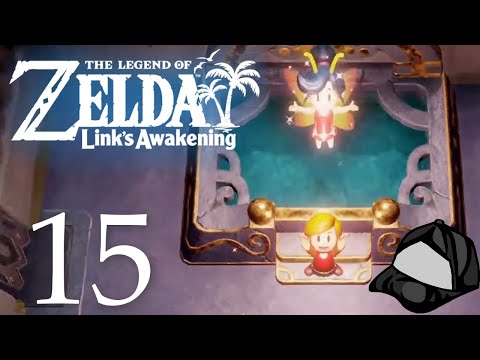
Zelda Link's Awakening Walkthrough 100% Switch - Part 15 - Catfish's Maw | Level 5 | Hookshot
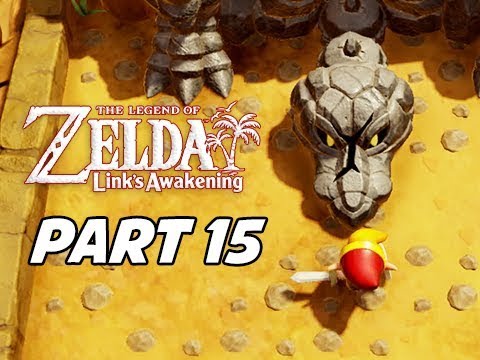
The Legend of Zelda: Link's Awakening (Nintendo Switch) Part 15 - Southern Face Shrine
The Legend of Zelda: Link's Awakening 100% Walkthrough - Part 15: Boomerang
Zelda Link's Awakening - 100% Walkthrough Part 15 No Commentary Gameplay Goriya & Final Trade Quest
The Legend of Zelda: Link’s Awakening Walkthrough Part 15 - Wind Fish's Egg Dungeon, The End
The Legend Of Zelda Links Awakening - Hero Mode - 100% Walkthrough Part 15 (Guide, All Collectibles)
Legend Of Zelda: Links Awakening Walkthrough - Part 15
The Legend of Zelda Link's Awakening - Part 15 - Mamu!
Rickety Coaster & Thunderhead - Skyward Sword HD 100% Walkthrough part 15
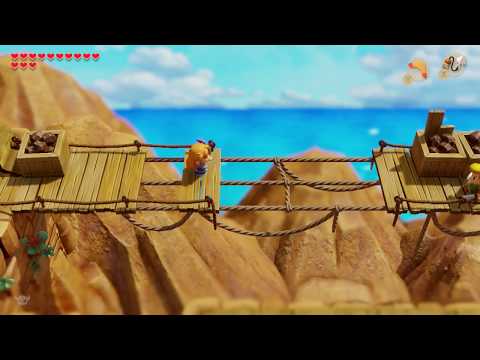
Link's Awakening 100% Walkthrough Part 15 - The Lonely Mountaineer
The Legend of Zelda: Link's Awakening (GB) Walkthrough Part 15 - Wind Fish's Egg
Legend of Zelda Link's Awakening Walkthrough Part 15 Western Tal Tal Mountains (Switch)
Zelda Link's Awakening 100% Walkthrough - Part 15/34 - Angler's Tunnel Part 2 (Commentary)
The Legend of Zelda: Link's Awakening Walkthrough - Western Tal Tal Heights - Hero Mode - Part 15
The Legend of Zelda: Link's Awakening DX Walkthrough Part 15 - Cowardly Skeleton
The Color Dungeon - Hero Mode Part 15 - Legend Of Zelda Link's Awakening


![LINK'S AWAKENING SWITCH - 100% Walkthrough Part 15 - The Last Trade [No-Commentary]](https://img.youtube.com/vi/cs_8b600zH0/0.jpg)