Super Mario 3D World Gameplay / Walkthrough w/ SSoHPKC Part 30 - Throwing in the Towel
Super Mario 3D World Gameplay / Walkthrough w/ SSoHPKC Part 27 - Musket Merv Encore
Super Mario 3D World Gameplay / Walkthrough w/ SSoHPKC Part 29 - The Struggle is Real
Super Mario 3D World Gameplay / Walkthrough w/ SSoHPKC Part 28 - Spike City
Castlevania: Lords of Shadow Gameplay / Walkthrough w/ SSoHPKC Part 30 - Pesky Ball Puzzle
Super Mario 3D World Gameplay / Walkthrough w/ SSoHPKC Part 25 - Save Me, Leaf!
Super Mario 3D World Playthrough Part 26 | The 30 Star Mystery House
Super Mario 3D World Gameplay / Walkthrough w/ SSoHPKC Part 19 - Special World Showdown
Super Mario 3D World Gameplay / Walkthrough w/ SSoHPKC Part 21 - Winter Wonderland
Super Mario 3D World Gameplay / Walkthrough w/ SSoHPKC Part 26 - The Flower World
Super Mario 3D World Playthrough Part 1 | Seven Years Later
Super Mario 3D World Gameplay / Walkthrough w/ SSoHPKC Part 8 - Halfway There
Dead Rising 3 Co-op Gameplay / Walkthrough w/ SSoHPKC and ClashJTM Part 32 - Dynamite
Super Mario 3D World Playthrough Part 25 | Crown World
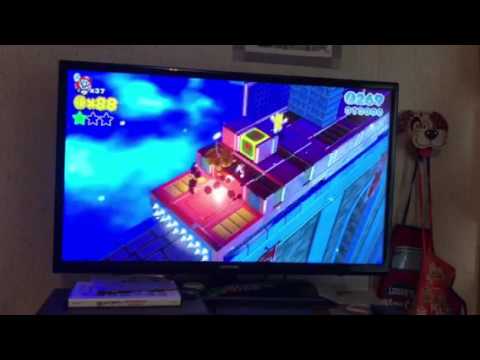
Super Mario 3D world world 6-castle
Super Mario 3D World Gameplay / Walkthrough w/ SSoHPKC Part 4 - Seeing Quadruple
Super Mario 3D World 100% - Part 29
Castlevania: Lords of Shadow Gameplay / Walkthrough w/ SSoHPKC Part 38 - The Pretty Witch
Dead Rising 3 Co-op Gameplay / Walkthrough w/ SSoHPKC and ClashJTM Part 31 - Mouth Shot
Super Mario 3D World Playthrough Part 28 | Glass Jaw Boom Boom
SUPER MARIO 3D WORLD - World Bowser-A & World Bowser-B - Gameplay Walkthrough Let's Play
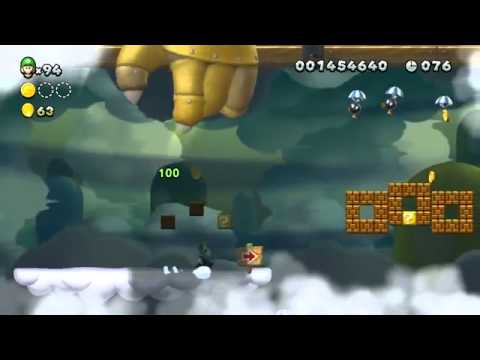
The Mario Bros U New Super Luigi U Gameplay Playthrough w SSoHPKC Part 14 Baby Bowser Showdown
Dead Rising 3 Co-op Gameplay / Walkthrough w/ SSoHPKC and ClashJTM Part 30 - Rooftop Woes
Castlevania: Lords of Shadow Gameplay / Walkthrough w/ SSoHPKC Part 26 - A Maze
Castlevania: Lords of Shadow Gameplay / Walkthrough w/ SSoHPKC Part 25 - The Almighty Disc 2