Samurai Warriors 4 Walkthrough PT. 56 - Battle of Yamazaki (Toyotomi)
Samurai Warriors 4 II - moveset with commentary 11/56 Takatora Todo
Samurai Warriors 4 - Chronicle Mode Episode 56 - RIDER KICK!
Samurai Warriors 4 II - moveset with commentary 25/56 Magoichi Saika
Samurai Warriors 4 II - moveset with commentary 51/56 Yoshihiro Shimazu
Samurai Warriors 4 II - moveset with commentary 55/56 Kenshin Uesugi
Samurai Warriors 4 II - moveset with commentary 16/56 Koshosho
Samurai Warriors 4 II - moveset with commentary 7/56 Nene
Samurai Warriors 4 II - moveset with commentary 48/56 Keiji Maeda
Samurai Warriors 4 Walkthrough PT. 55 - Conflict at the Ishigaki Plains (Mori)
Lets play | Samurai Warriors 4 Story Mode | Episode 56
Samurai Warriors 4 Walkthrough PT. 60 - Conquest of Kyushu (Toyotomi)
Samurai Warriors 4 | Let's Play Ep.56 | Goodbye, Keiji [Wretch Plays]
Samurai Warriors 4 DX - WALKTHROUGH [FULLGAME 1080P HD - No Commentary]
Samurai Warriors 4 II - moveset with commentary 43/56 Yoshimoto Imagawa
Samurai Warriors 4 II - moveset with commentary 24/56 Kotaro Fuma
Samurai Warriors 4_II - Survival Mode - No Commentary - Part 56 - Playtime Full Game Walkthrough
Samurai Warriors 4 II - moveset with commentary 9/56 Nobuyuki Sanada
Samurai Warriors 4 Walkthrough PT. 59 - Conquest of Shikoku (Toyotomi)
Samurai Warriors 4 II - moveset with commentary 19/56 Takakage Kobayakawa
Samurai Warriors 4 II - moveset with commentary 6/56 Aya
Samurai Warriors 4 II - moveset with commentary 26/56 Toyohisa Shimazu
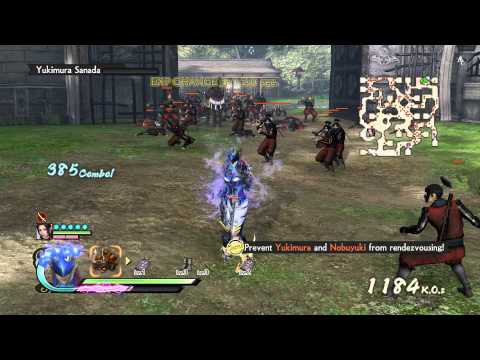
戦国無双4 (SW4) - Pt.56 - Sanada Chapter - The Second Battle of Ueda Castle (Eastern army)
Samurai Warriors 4 II - moveset with commentary 3/56 Kanetsugu Naoe
Samurai Warriors 4 II - moveset with commentary 52/56 Musashi Miyamoto


![Samurai Warriors 4 | Let's Play Ep.56 | Goodbye, Keiji [Wretch Plays]](https://img.youtube.com/vi/PchUCvMunCA/0.jpg)
![Samurai Warriors 4 DX - WALKTHROUGH [FULLGAME 1080P HD - No Commentary]](https://img.youtube.com/vi/A-V9bfXfMRg/0.jpg)