Playthrough of X-Wing vs TIE Fighter Rebel Mission 12 Part 1 - Protect Resupply
Playthrough of X-Wing vs TIE Fighter Rebel Mission 11 Part 1 - Defend Factory (In a B-Wing:O)
Playthrough of X-Wing vs TIE Fighter Rebel Mission 12 Part 2 - Protect Resupply
Lets Play X-Wing vs Tie Fighter Imperial Mission 12 - Defend Imperial Convoy
Playthrough of X-Wing vs TIE Fighter Rebel Mission 13 Part 1 - Capture Leader
Star Wars X-wing vs Tie Fighter Balance Rebel Campaign Spreading The Rebellion Mission 12 X-Wing POV
Lets Play X-Wing vs Tie Fighter Imperial Mission 13 Part 1 - Destroy Airam/Rebel Fleet
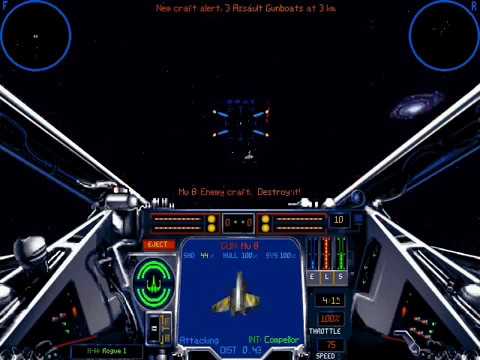
Playthrough of X-Wing vs TIE Fighter Rebel Mission 8 - Escort the Compellor
Star Wars: X-Wing vs TIE Fighter - Balance of Power - Rebel Campaign Mission #12
X-Wing vs Tie Fighter Balance of Power Multiplayer Rebel Campaign Mission 1 - 3
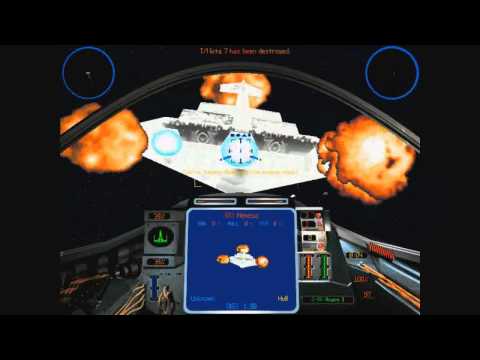
Playthrough of X-Wing vs Tie Fighter Rebel Mission 6 Part 1 - Destroy ISD's
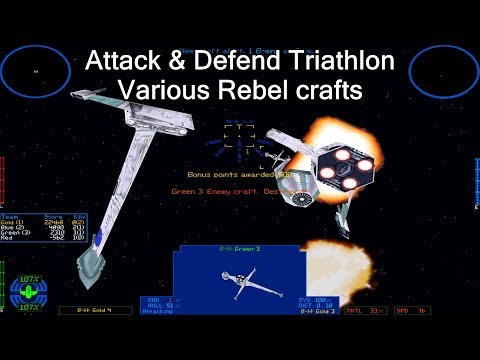
X-wing vs. TIE Fighter - Attack & Defend Triathlon - Rebels
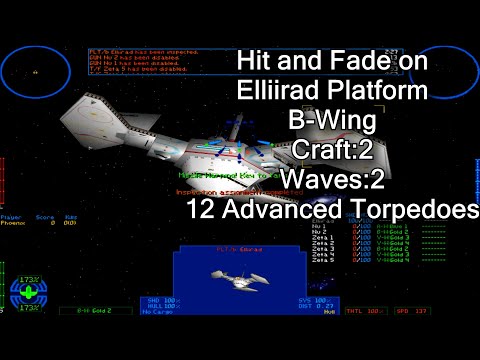
X-wing vs. TIE Fighter - Hit and Fade on Elliirad Platform - B-Wing
Playthrough of X-Wing vs TIE Fighter Rebel Mission 10 Part 1 - Destroy Reinforcements
Playthrough of X-Wing vs Tie Fighter Rebel Mission 3 Part 1 - Escort Convoy
Playthrough of X-Wing vs TIE Fighter Rebel Mission 7 Part 1 - Capture the Compellor
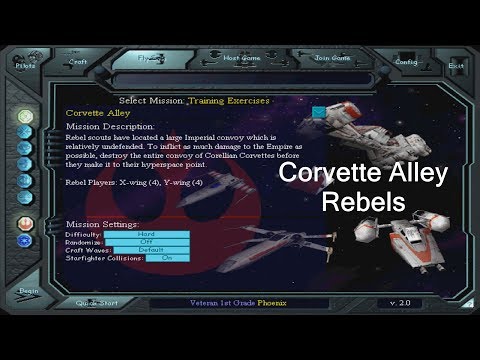
X-wing vs. TIE Fighter - Corvette Alley - Rebels
Playthrough of X-Wing vs TIE Fighter Rebel Mission 14 Part 1 - Rescue Conscripts
Lets Play X-Wing vs Tie Fighter Rebel Mission 1 Part 1: Abandon Base
Star Wars XvT Balance of Power Rebel Campaign Spreading The Rebellion Mission 9 A-Wing Rogue POV