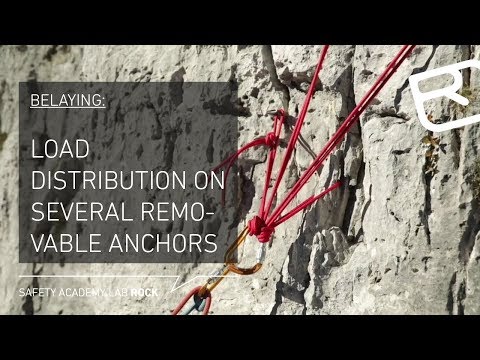
Guide to belaying: Load distribution with two removable anchors – Tutorial (17/43) | LAB ROCK
Belaying on several removable anchors: Load distribution – Tutorial (18/43) | LAB ROCK
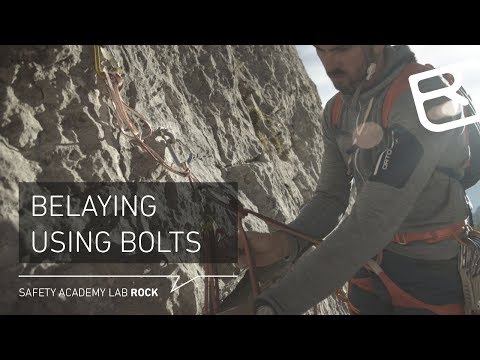
Guide to belaying: Series connection with 2 bolts – Tutorial (16/43) | LAB ROCK
Central point belay / distribution of load at the belay station – Tutorial (21/43) | LAB ROCK
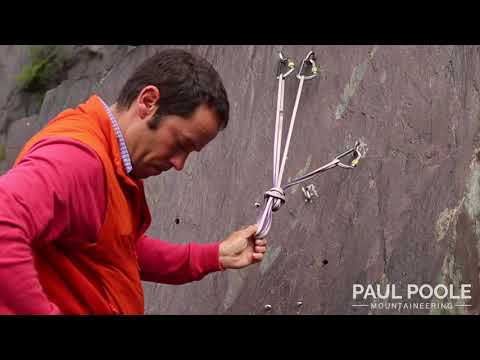
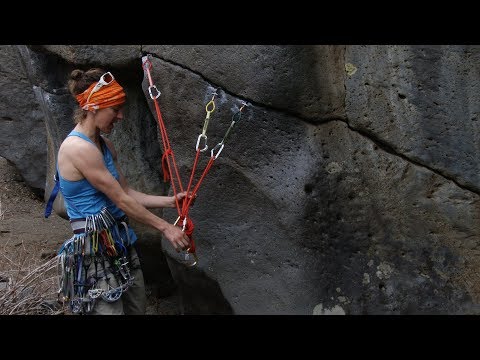
How to equalise anchors in your belay - 4 different ways
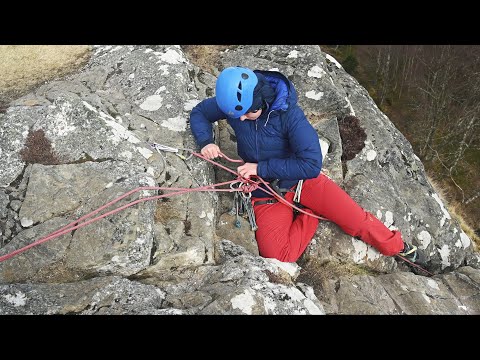
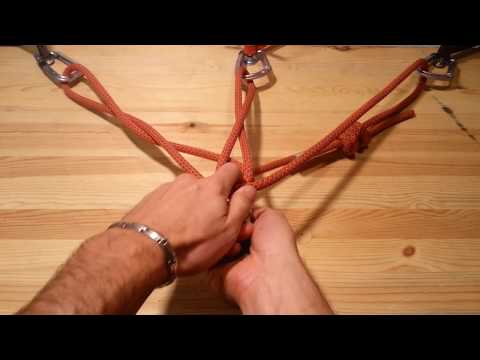
Building a Climbing belay with the rope to 3 anchor points
Fixed point belay at the belay station: Advantages & disadvantages – Tutorial (20/43) | LAB ROCK
Building a Climbing belay with a sling to 3 anchor points
Building a Two-point Belay
Removable Anchors: Safely positioning friends & cams – Tutorial (26/43) | LAB ROCK
Vector forces in Climbing anchors
Body belay at the belay station: Advantages & disadvantages – Tutorial (19/43) | LAB ROCK
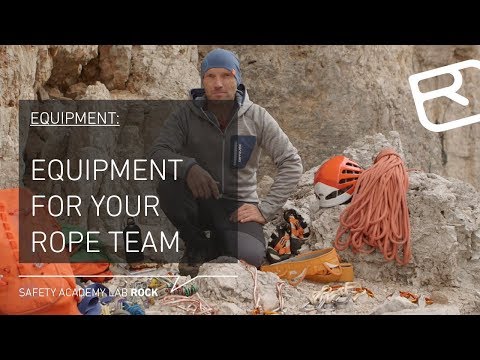
A rope team’s equipment for alpine climbing: Quickdraws, ropes, etc. – Tutorial (5/43) | LAB ROCK
Anchors: Identifying secure bolts – Tutorial (22/43) | LAB ROCK
Rock Climbing Belays, Equalizing Anchors.
Rope team procedure: Partner check, correct clipping & belay stations – Tutorial (9/43) | LAB ROCK
Ancoraggio Dinamico a 3 Punti (Tutorial per Professionisti)
MOUNTAINEERING TUTORIAL #14 | How to Make a 3-Point Stop | Adding a Fixed Point
Anchors: Hammering in a normal piton – Tutorial (23/43) | LAB ROCK
Traditional Climbing: 19. Maximizing Space at the Anchor | Climbing Tech Tips