Dark Souls 2 Gameplay Walkthrough w/ SSoHPKC Part 71 - The Most Dangerous Ladder
Dark Souls 2 Gameplay Walkthrough w/ SSoHPKC Part 72 - Double Invasion
Dark Souls 2 Gameplay Walkthrough w/ SSoHPKC Part 73 - Old Iron King Failure
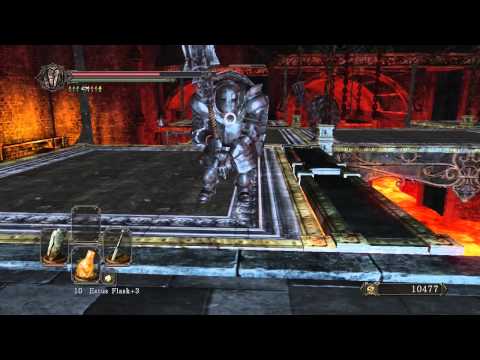
Dark Souls 2 Gameplay Walkthrough w/ SSoHPKC Part 70 - Smelter Demon Boss Fight
Dark Souls 2 Gameplay Walkthrough w/ SSoHPKC Part 66 - Mytha, the Baneful Queen Boss Fight
Dark Souls 2 Gameplay Walkthrough w/ SSoHPKC Part 53 - Pesky Dark Spirits
Dark Souls 2 Gameplay Walkthrough w/ SSoHPKC Part 64 - Very Good
Dark Souls 2 Gameplay Walkthrough w/ SSoHPKC Part 65 - Poison Healer
Dark Souls 2 Gameplay Walkthrough w/ SSoHPKC Part 104 - Ancient Dragon Soul
Dark Souls 2 Gameplay Walkthrough w/ SSoHPKC Part 51 - Royal Rat Authority Boss Fight
Dark Souls 2 Gameplay Walkthrough w/ SSoHPKC Part 79 - Helping Others
Dark Souls 2 Gameplay Walkthrough w/ SSoHPKC Part 83 - Farm City
Dark Souls 2 Gameplay - Kinetic Vs Navlaan, ROUND 2! - Walkthrough Part 71
Dark Souls 2 Gameplay Walkthrough w/ SSoHPKC Part 69 - Best Carving World
Dark Souls 2 Gameplay - Guardian Dragon! - Walkthrough Part 70
Dark Souls 2 Gameplay Walkthrough w/ SSoHPKC Part 68 - Friends in Strange Places
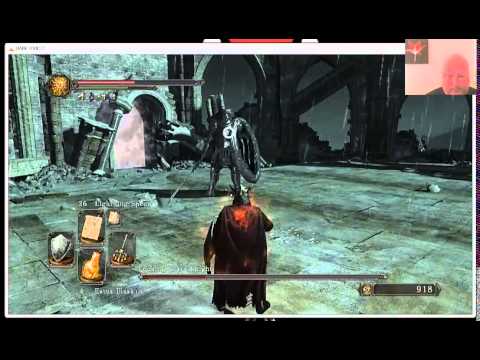
The Hardest Difficulty - Dark Souls Super Duper Expert Playthrough w/ SSoHPKC Part 71 - Gwyn, Lord of Cinder
Dark Souls 2 Longplay Part 71
Dark Souls 2 Gameplay Walkthrough w/ SSoHPKC Part 29 - Flexile Sentry Boss
Dark Souls 2 Walkthrough Part 71 - Dragon Aerie (1080p Gameplay Commentary)