Dark Souls 2 Gameplay Walkthrough w/ SSoHPKC Part 16 - The Pursuer Boss Fight (VICTORY!)
Castlevania: Lords of Shadow 2 Gameplay Walkthrough w/ SSoHPKC Part 16 - Carmilla's Return
Dark Souls 2 Gameplay Walkthrough w/ SSoHPKC Part 18 - The Lanky Trio
Gears of War Judgment Campaign Gameplay / Walkthrough w/ SSoHPKC Part 16 - Fighting In the Dark
Dark Souls 2 Gameplay - Dragonriderr Boss - Walkthrough Part 15
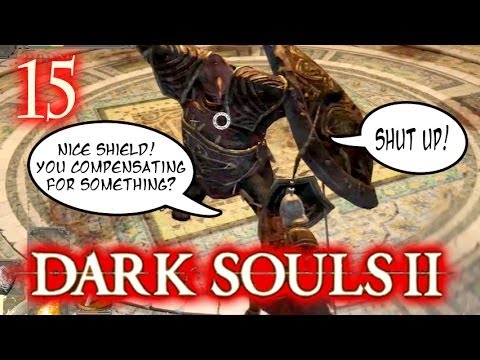
Dark Souls 2 Gameplay Walkthrough w/ SSoHPKC Part 15 - The Pursuer Demolishes Me
Dark Souls 2 Gameplay Walkthrough w/ SSoHPKC Part 62 - Enemies of the Green Mist
Dark Souls 2 Gameplay Walkthrough w/ SSoHPKC Part 24 - Heide's Tower of Flame
Dark Souls 2 Gameplay Walkthrough w/ SSoHPKC Part 25 - Dragonrider Boss Fight
Dark Souls 2 Gameplay Walkthrough w/ SSoHPKC Part 23 - Backtracking
Dark Souls 2 Gameplay Walkthrough w/ SSoHPKC Part 21 - Rekt by Gargoyles
Dark Souls 2 Gameplay Walkthrough w/ SSoHPKC Part 19 - Ruin Sentinel Boss Fight
Dark Souls 2 Gameplay Walkthrough w/ SSoHPKC Part 30 - Old Dragonslayer Boss Fight
Dark Souls 2 Gameplay Walkthrough w/ SSoHPKC Part 44 - Equipment Breaking Goo
Dark Souls 2 Gameplay Walkthrough w/ SSoHPKC Part 106 - Final Boss Fights
Dark Souls 2 Gameplay Walkthrough w/ SSoHPKC Part 17 - The Fat Roll
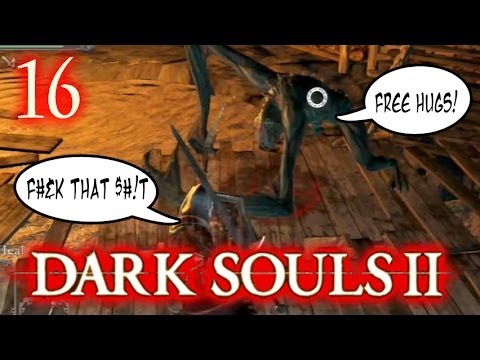
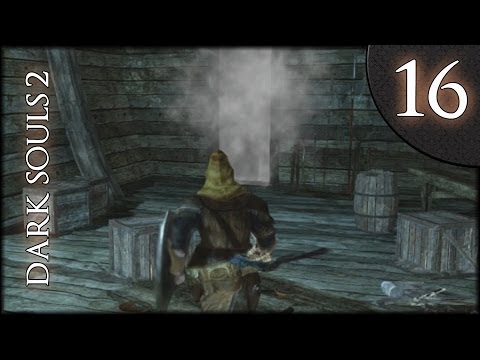
Dark Souls 2 Gameplay - No-Man's Warf - Walkthrough Part 16
Let's Play Dark Souls 2 (Xbox Gameplay) - Part 16: The Flexile Sentry
Dark Souls 2 Gameplay Walkthrough w/ SSoHPKC Part 22 - Worst Bonfire Ever
Dark Souls 2 Gameplay Walkthrough w/ SSoHPKC Part 5 - Things Get INTENSE