Castlevania: Lords of Shadow Gameplay / Walkthrough w/ SSoHPKC Part 23 - Beam Puzzle
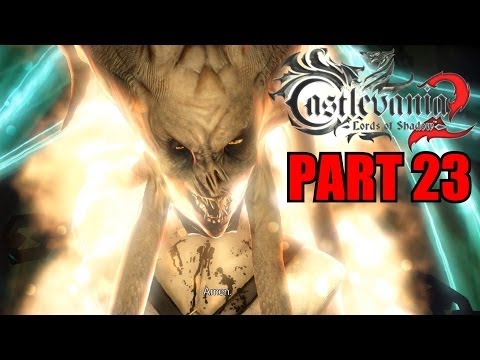
Castlevania: Lords of Shadow 2 Gameplay Walkthrough w/ SSoHPKC Part 23 - Toy Maker Boss Fight
Castlevania: Lords of Shadow Gameplay / Walkthrough w/ SSoHPKC Part 24 - Lieutenant Brauner
Castlevania: Lords of Shadow Gameplay / Walkthrough w/ SSoHPKC Part 25 - The Almighty Disc 2
Castlevania: Lords of Shadow Gameplay / Walkthrough w/ SSoHPKC Part 29 - Rune City
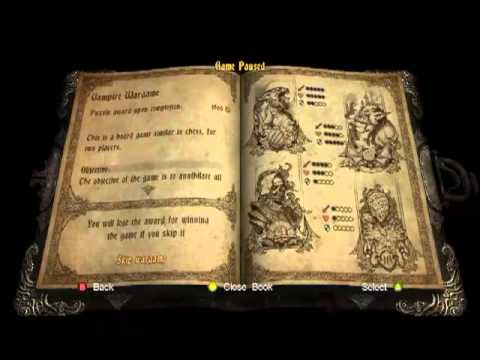
Castlevania: Lords of Shadow Gameplay / Walkthrough w/ SSoHPKC Part 15 - Puzzle of All Puzzles
Castlevania: Lords of Shadow Gameplay / Walkthrough w/ SSoHPKC Part 4 - Attack on Titan
Castlevania: Lords of Shadow Gameplay / Walkthrough w/ SSoHPKC Part 26 - A Maze
Castlevania: Lords of Shadow Gameplay / Walkthrough w/ SSoHPKC Part 21 - Statue Woes
Castlevania: Lords of Shadow Gameplay / Walkthrough w/ SSoHPKC Part 7 - Spiked Chain
Castlevania: Lords of Shadow Gameplay / Walkthrough w/ SSoHPKC Part 30 - Pesky Ball Puzzle
Castlevania: Lords of Shadow Gameplay / Walkthrough w/ SSoHPKC Part 22 - Buddies 4 Lyfe
Castlevania: Lords of Shadow Gameplay / Walkthrough w/ SSoHPKC Part 20 - Colder Times Ahead
Castlevania: Lords of Shadow Gameplay / Walkthrough w/ SSoHPKC Part 3 - For the Brotherhood
Let's Play Castlevania: Lords of Shadow (Part 23)
Castlevania: Lords Of Shadow 2 Walkthrough Part 23 Gameplay With Commentary - PC 1080P
Castlevania: Lords of Shadow 2 Gameplay Walkthrough w/ SSoHPKC Part 22 - The Show
Super Mario 3D World Gameplay / Walkthrough w/ SSoHPKC Part 23 - Musket Merv Revived
Castlevania: Lords of Shadow Gameplay / Walkthrough w/ SSoHPKC Part 48 - Satan No More
Castlevania: Lords of Shadow Gameplay / Walkthrough w/ SSoHPKC Part 27 - The Vampire's Daughter