Castlevania: Lords of Shadow Gameplay / Walkthrough w/ SSoHPKC Part 17 - Freedom Eagle
Castlevania: Lords of Shadow 2 Gameplay Walkthrough w/ SSoHPKC Part 17 - Choose Wisely
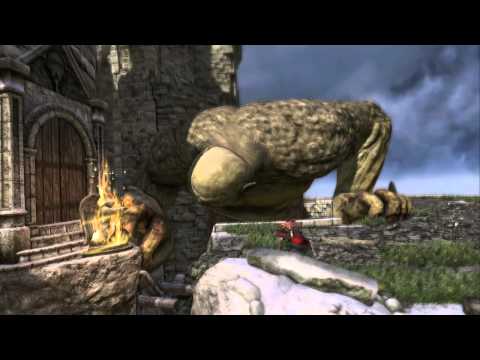
Castlevania: Lords of Shadow Gameplay / Walkthrough w/ SSoHPKC Part 18 - The Ogre
Castlevania: Lords of Shadow Gameplay / Walkthrough w/ SSoHPKC Part 21 - Statue Woes
Castlevania: Lords of Shadow Gameplay / Walkthrough w/ SSoHPKC Part 23 - Beam Puzzle
Castlevania: Lords of Shadow 2 Gameplay Walkthrough w/ SSoHPKC Part 16 - Carmilla's Return
Castlevania: Lords of Shadow Gameplay / Walkthrough w/ SSoHPKC Part 20 - Colder Times Ahead
Castlevania: Lords of Shadow Gameplay / Walkthrough w/ SSoHPKC Part 15 - Puzzle of All Puzzles
Castlevania: Lords of Shadow Gameplay / Walkthrough w/ SSoHPKC Part 16 - Mallet Bro
Castlevania: Lords of Shadow 2 Gameplay Walkthrough w/ SSoHPKC Part 18 - The Mine Fairy
Fable Anniversary Gameplay / Walkthrough w/ SSoHPKC Part 17 - The Bandit Camp
Castlevania: Lords of Shadow Gameplay / Walkthrough w/ SSoHPKC Part 9 - Riding the Beast
Castlevania: Lords of Shadow Gameplay / Walkthrough w/ SSoHPKC Part 19 - The Crow Witch Malphas
Castlevania: Lords of Shadow Gameplay / Walkthrough w/ SSoHPKC Part 25 - The Almighty Disc 2
Castlevania: Lords of Shadow Gameplay / Walkthrough w/ SSoHPKC Part 14 - Black Knight Golem
Castlevania: Lords of Shadow - Part 17 Chapter 4 Mountain Fortress PC HD Gameplay
Castlevania: Lords of Shadow 2 Walkthrough - Castlevania: Lords of Shadow 2 - Walkthrough Part 17 - Next Stop: Castlevania Part 2
Castlevania: Lords of Shadow 2 Gameplay Walkthrough w/ SSoHPKC Part 9 - An Old Face
Castlevania: Lords of Shadow 2 Gameplay Walkthrough w/ SSoHPKC Part 11 - The Gorgon Sisters Fall
Castlevania: Lords Of Shadow 2 Walkthrough Part 20 Gameplay With Commentary - PC 1080P