Castlevania: Lords of Shadow 2 Gameplay Walkthrough w/ SSoHPKC Part 3 - Cutscene City
Castlevania: Lords of Shadow 2 Gameplay Walkthrough w/ SSoHPKC Part 4 - Sneaky Tme
Castlevania: Lords of Shadow Gameplay / Walkthrough w/ SSoHPKC Part 3 - For the Brotherhood
Castlevania: Lords of Shadow 2 Gameplay Walkthrough w/ SSoHPKC Part 1 - Blitzcrank
Castlevania: Lords of Shadow 2 Gameplay Walkthrough w/ SSoHPKC Part 2 - God's Chosen One
Castlevania: Lords of Shadow 2 Gameplay Walkthrough w/ SSoHPKC Part 23 - Toy Maker Boss Fight
Castlevania: Lords of Shadow 2 Gameplay Walkthrough w/ SSoHPKC Part 5 - The Stone Golem
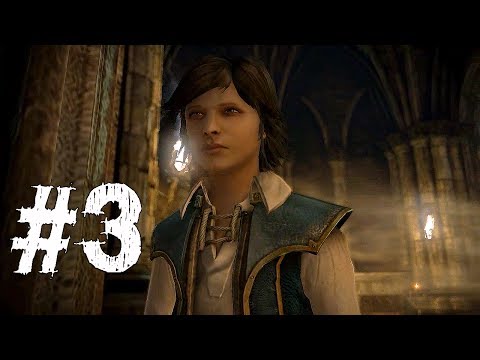
Castlevania: Lords of Shadow 2 Gameplay Walkthrough Part 3 - BERNHARD'S WING
Castlevania Lords of Shadow 2 - Part 3 Walkthrough Playthrough PC 1080p Maxed Out
Castlevania: Lords of Shadow 2 Gameplay Walkthrough w/ SSoHPKC Part 6 - Follow the Wolf
Castlevania Lords Of Shadow 2 Gameplay Walkthrough Part 3 1080p ULTRA PC/XBOX/PS4
Castlevania: Lords Of Shadow 2 Walkthrough Part 3 Gameplay With Commentary - PC 1080P
Castlevania: Lords of Shadow 2 Gameplay Walkthrough w/ SSoHPKC Part 12 - Back to the Streets
Castlevania: Lords of Shadow 2 Gameplay Walkthrough w/ SSoHPKC Part 21 - 10 Minutes of Pain
Castlevania Lords of Shadow Gameplay Walkthrough Part 3 - Chapter 2
Castlevania: Lords Of Shadow 2 Walkthrough Part 34 Gameplay With Commentary - PC 1080P
Castlevania: Lords of Shadow Gameplay / Walkthrough w/ SSoHPKC Part 25 - The Almighty Disc 2
Castlevania: Lords of Shadow 2 - Gameplay Walkthrough Part 4 - White Wolf
Castlevania: Lords of Shadow Gameplay / Walkthrough w/ SSoHPKC Part 6 - Is This Death?
Castlevania: Lords of Shadow 2 Gameplay Walkthrough w/ SSoHPKC Part 8 - The Creepiest Thing