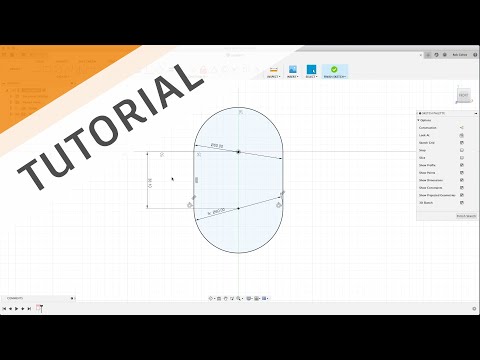
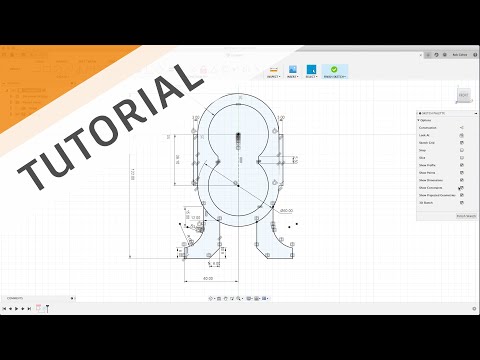
Best Practices with Assembly Design for Teams (Part 1) - Preferences and Sketch Basics
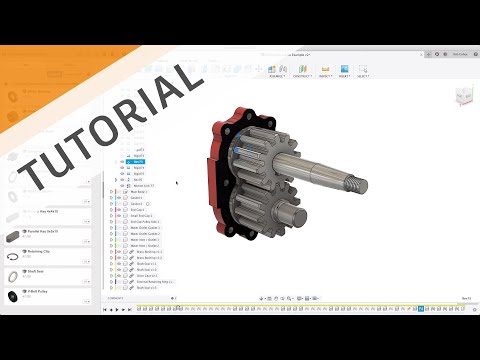
Best Practices with Assembly Design for Teams (Part 8) - Joints
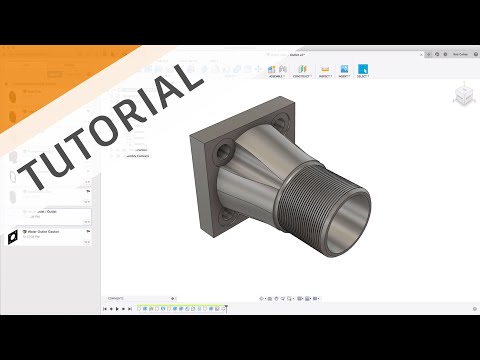
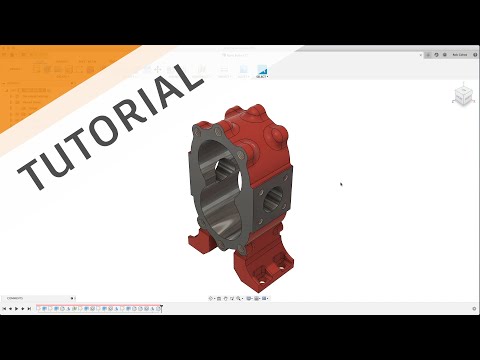
Best Practices with Assembly Design for Teams (Part 7) - Intermediate Part Modeling Concepts
Best Practices for Assembly Design for Teams (Part 6) - Design Reuse
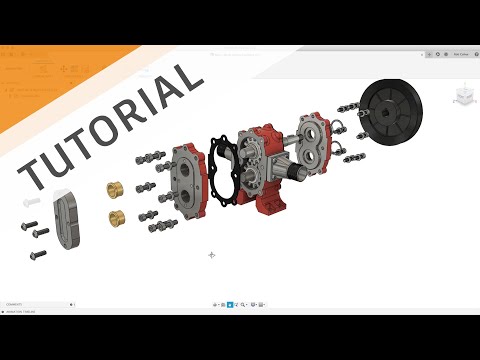
Best Practices with Assembly Design for Teams (Part 10) - Exploded Views
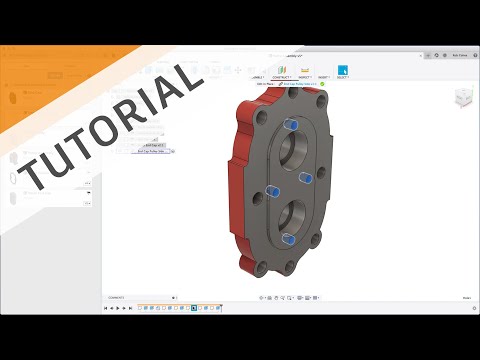
Best Practices with Assembly Design for Teams (Part 4) - Tapped Holes, Mirror, and Appearances
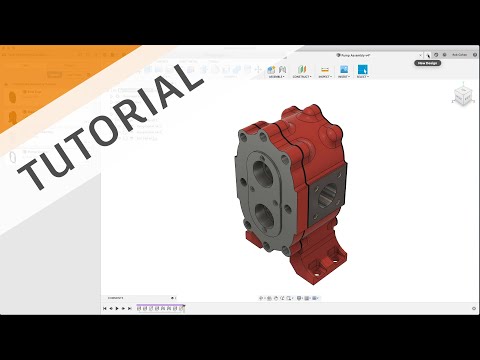
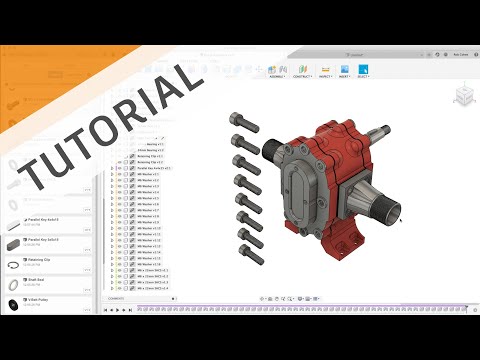
Best Practices with Assembly Design for Teams (Part 5) - Bottom-Up Assembly Design
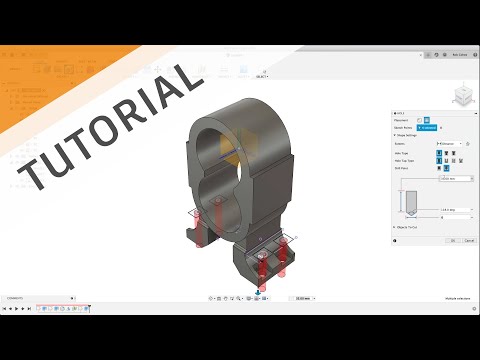
Best Practices with Assembly Design for Teams (Part 3) - Fillets, Workplanes, and Holes
Best Practices with Assembly Design for Teams (Part 2) - Finish Sketch & Extrude
Best Practices with Assembly Design for Teams (Part 9) - Joints Part 2
7 Fusion 360 Assembly Mistakes - Don't Fall for These Gotchas!
33 The Assembly Difference, Best Practice, and Performance Structure the Assembly for Success
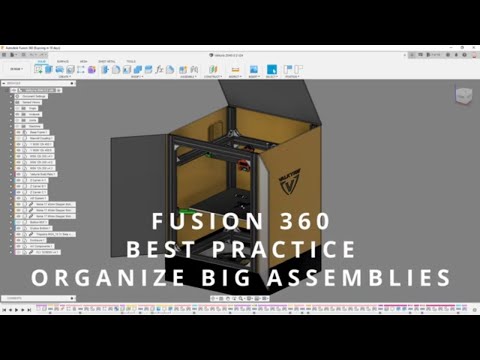
FUSION 360 BEST PRACTICE - BIG ASSEMBLIES - MANY COMPONENTS
Leveraging Large Assembly Techniques
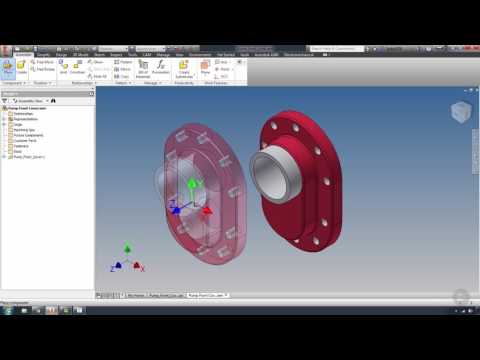
Level Up Your Skills with Autodesk Inventor Tips and Best Practices
Top Down and Bottom Up Design
34 The Assembly Difference, Best Practice, and Performance Relationships Intro to the Constrain
10 Rules of Lean Assembly Cell Design
SolidWorks Mates Best Practice Tip #1
Fusion 360 Top Down vs. Bottom Up Assembly Modeling